

6 to 8 Inches From the Steamer: Safe Fedora Brim Reshape in NZ
Use steam and hand moulding for small brim tweaks. For felt fedoras, hold the hat 6 to 8 inches from a steamer, work the brim while damp, then cold set it flat or on a block. Straw needs a gentle mist instead of direct steam, and leather wants warm, dry air rather than moisture. If the crown is badly warped or the felt has cracked, book a professional reshaper instead of pushing further with a home fix.
TL;DR:
- Felt fedoras respond well to short-steam passes held at 6 to 8 inches, but excessive or improper handling can cause damage or loss of shape.
- Straw hats require careful misting or light dipping rather than direct steam to avoid fiber damage or cracking, especially with fragile weaves.
- Leather brims should be shaped using warm, dry air and conditioners or conditioners, as moisture can stain or stiffen leather once dried.
- Professional reshaping with a hat block is recommended for major denting or uneven shapes, especially on vintage or high-value hats, for longer-lasting results.
- Proper storage on a hat stand or inside a hat box prevents brim distortion, with occasional light steaming helping to maintain a refreshed shape over time.
Table of Contents
- Tools and a quick checklist before you reshape a fedora brim
- How different fedora materials react to heat and moisture
- Reshaping a felt fedora brim: the full steam and cold-set method
- Reshaping straw and woven brims without cracking the fibres
- Handling leather-brimmed fedoras and mixed trims
- DIY, a hat block, or a professional reshaper: how to choose
- Keeping the brim in shape after you’ve reshaped it
- What Urban sees most often with fedora brims
- Looking for a fedora that’s easier to keep in shape?
- Sources
- FAQ
Tools and a quick checklist before you reshape a fedora brim
Gather everything before you start. Running to find a towel halfway through a steaming pass is how brims end up over steamed on one side and untouched on the other.
You’ll want:
- A kettle or handheld garment steamer
- A spray bottle filled with clean water (for straw)
- Two or three clean, lint-free towels
- A bowl, rolled towel, or head block to support the crown
- Oven mitts or neoprene gloves
- Weights or heavy books for flat-drying
- Paper towel or tissue paper to stuff the crown while it sets
Before touching steam or water to any part of the hat, work out what you’re dealing with. Rub a small section of the brim underside between your fingers. Felt feels dense, slightly fuzzy, and springs back when pressed. Straw feels stiff, woven, and shows visible fibre strands. Leather feels smooth, cool, and doesn’t give much at all. Each material behaves differently under heat and moisture, so guessing wrong here is the single biggest cause of ruined hats.
Pro Tip: Test your steaming or misting technique on the underside of the brim first, in a spot the crown or sweatband will cover if it goes wrong. Thirty seconds of caution here saves the whole hat.
Keep the steam source 6 to 8 inches from the felt at all times, protect your hands with gloves, and never aim steam directly at a lining, sweatband, or glued trim.
How different fedora materials react to heat and moisture
Wool felt is the most forgiving material to reshape. Steam relaxes the fibres enough to remould the brim, and holding the steam source 6 to 8 inches away while working in short passes keeps the felt supple without scalding it or matting the nap. Fur felt behaves similarly but is more expensive to replace if you get heavy handed, so treat it with extra patience.
Straw is the opposite story. Direct steam can scorch or brittle certain weaves, which is why misting or light dipping is the safer route for squashed straw hats. Leather brims should never get wet at all. Moisture can stain, stretch unevenly, or cause the leather to stiffen as it dries, so warm dry air and a leather conditioner do the actual work.
Here’s the part most guides skip: steam alone doesn’t set a new shape. It only softens the fibres. Without a mould or block to hold that shape while the material cools, felt and straw will often spring most of the way back to their old form within a day or two. That’s the real reason DIY reshapes sometimes “don’t stick.”
Safety matters just as much as technique:
- Keep bare skin away from the steam nozzle; gloves aren’t optional
- Work in short, moving passes rather than holding steam on one spot
- Never let moisture reach the sweatband, satin lining, or any glued decoration
- If the hat has vintage trim, a feather, or a glued band, stop and consult a milliner before applying heat
Reshaping a felt fedora brim: the full steam and cold-set method
This is the process most fedora owners actually need, since wool and fur felt make up the bulk of everyday hats.
- Brush and clean first. Use a soft hat brush to remove dust and surface grime before applying any heat. Trapped grit can scratch the felt nap once it’s damp and pliable, and cleaning before reshaping also stops you from setting stains permanently into the new shape. Our wool hat care basics guide covers brushing technique in more detail.
- Set up your steam source. A kettle works fine for occasional touch ups; a handheld garment steamer gives more control for a full reshape. Either way, wait until steam is flowing freely before bringing the hat close.
- Steam the brim in short passes. Hold the felt 6 to 8 inches from the steam and move it constantly, giving each section two or three seconds at a time. You’re aiming for the felt to feel warm and slightly damp, not soaked.
- Mould with your fingers while the felt is warm. Push the brim into the curve you want, working from the centre front outward. For a classic snap-brim, keep the front of the brim turned up while you steam and shape that section, then work the back separately.
- Address uneven edges immediately. If one side curls more than the other, re-steam just that section rather than the whole brim. Soaking the entire hat again to fix a small patch is how felt loses its structure over multiple attempts.
- Cold set the shape. Once you’re happy with the curve, stuff the crown loosely with paper towel or tissue to hold its form, then let the hat sit undisturbed. Placing it brim down on a flat, clean surface with a light weight along the edge helps lock the new shape as the fibres cool. Leave it for at least an hour, longer for a stubborn reshape.
- Check once dry. If the curl has partly relaxed, repeat steps 3 and 4 on just the affected area. Two light passes beat one heavy soak every time.
Pro Tip: If you’re reshaping a wide-brim wool fedora, work in quarters rather than trying to steam and mould the whole circumference at once. It keeps the shape symmetrical and stops one section drying before you’ve finished the rest. Our complete guide to reshaping wool hats walks through this quarter-by-quarter approach step by step.
Reshaping straw and woven brims without cracking the fibres
Straw fedoras need a lighter touch than felt, and the method changes depending on the weave.
- Check the weave before choosing a method. Tightly woven Panama-style straw tolerates a light mist. Loosely plaited or fragile straw does better with careful hand misting only, since even gentle dipping can loosen the weave at the sewn seams.
- Mist evenly rather than soaking. Use a spray bottle to dampen the brim on both sides, keeping the spray away from any stitched band or trim. If the crown needs reshaping too, a brief, controlled dip can work, but avoid letting the sewn edges sit in water.
- Mould over a bowl or rolled towel. Place the damp crown over a bowl roughly the size of your head, or use a tightly rolled towel to support the brim’s curve while it dries. This is the same principle a hat block uses, just improvised.
- Use the flat-weight method for warped brims. Lay the hat brim-down on a clean, hard, flat surface. Cover it with a light cloth, then place evenly distributed weights (books work well) around the brim’s edge. Leave for several hours, checking periodically.
- Watch for fibre fatigue. Straw that feels brittle or starts to fray at the crease, rather than bending smoothly, has reached its limit. Pushing a tired weave further usually snaps individual strands rather than reshaping them.
- Dry slowly, away from direct heat. A sunny windowsill or heater vent dries straw unevenly and speeds up fibre fatigue. Room temperature, out of direct sun, gives the most even result over several hours.
Handling leather-brimmed fedoras and mixed trims
Leather plays by different rules entirely. Skip the steam and the spray bottle here.
- Warm, slightly humid air (standing near a running shower, not directly under it) softens leather enough to work with, without the staining risk that comes from wetting it directly.
- A leather conditioner applied sparingly beforehand keeps the fibres supple and makes hand moulding easier, particularly on brims that have dried out or stiffened with age.
- Shape the brim gently by hand, then support it with a bowl, rolled towel, or padded block while it cools back to room temperature. Leather holds a new curve reasonably well once it’s cooled in position.
- Stitched seams, glued edges, or leather bonded to a felt or straw base are a different problem. If the bond is failing or the stitching has pulled, that’s a job for a professional milliner, not a home fix.
DIY, a hat block, or a professional reshaper: how to choose
A steamer alone fixes small dents and everyday creases. It softens the material, but it doesn’t hold a new shape on its own. A hat block gives you a rigid form to mould around, which is why professional results look sharper and last longer than a hand-shaped fix.
Reach for a block, or a professional reshaper, when:
- The crown itself is dented or misshapen, not just the brim
- You need the same exact curve on both sides for a symmetrical style
- The hat is vintage, expensive, or has trims that can’t handle DIY heat
- You’ve reshaped the same spot two or three times and it keeps relaxing back
Professional reshaping costs vary depending on the shop and the extent of the damage, and most local milliners or hat repair services quote based on the job rather than a flat rate, so it’s worth asking for an estimate before committing. As a general rule, a straightforward brim reshape costs less than a full crown reblock, since crown work almost always benefits from a proper block while brim curves are commonly done freehand by an experienced shaper.
Statistic-style note: professional shops typically pair a commercial steamer with a block in sequence, using the steamer to soften the felt and the block to lock the exact form. That two-step process is the main reason a professional reshape holds its curve far longer than a hand-moulded one at home.
Keeping the brim in shape after you’ve reshaped it
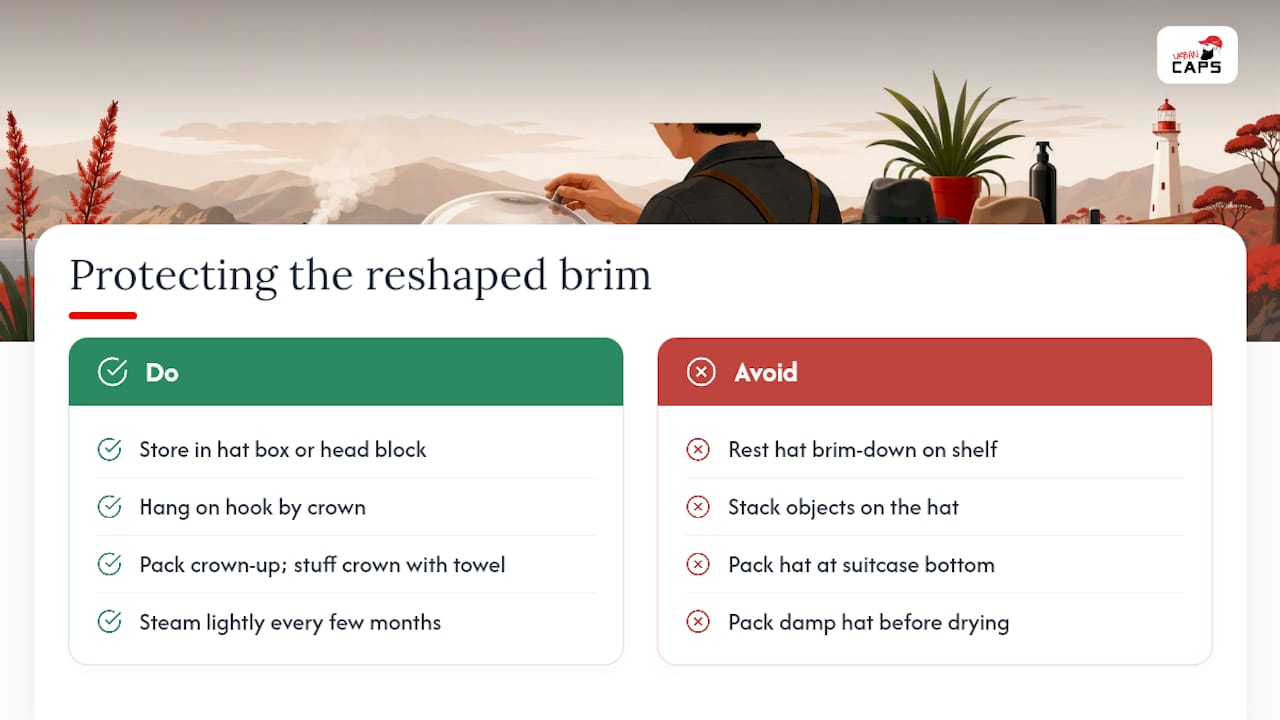
The fastest way to undo a good reshape is bad storage. Resting a hat brim-down on a shelf, or stacking anything on top of it, causes permanent distortion over time, even on a hat you’ve just fixed.
For long-term storage, a proper hat box or a head block keeps the crown supported and the brim clear of pressure. If you don’t have either, hanging the hat on a hook by the crown, never by the brim, is the next best option. Check our hat care checklist for a quick reference on daily habits that protect your reshape.
Travelling is where most brims get crushed. Pack the hat crown-up in a rigid case if you have one, or stuff the crown with a rolled towel and pack it on top of soft items rather than at the bottom of a suitcase. Our travel packing guide has more detail on avoiding both crush damage and mould from a damp hat packed too soon.
Once your reshape is holding well, a light steam pass every few months keeps small creases from building up. You’re not redoing the whole job, just touching up the spots that see the most handling, like where you grip the brim to take the hat off.
What Urban sees most often with fedora brims
Most of the brim damage we see isn’t from wear, it’s from storage. A hat left brim-down on a car seat or squashed into a bag for a weekend away loses its curve faster than months of normal wearing ever would. The fix is almost always the same simple steam and cold-set process covered above, and it works reliably on wool felt more often than any other material we stock.
Wide-brim wool fedoras and turned-brim styles tend to be the easiest to maintain because the felt has enough density to hold a reshape without a block. Teardrop crowns with a moderate brim also respond well to a quick at-home fix, since there’s less surface area to get uneven.
One customer brought in a wool fedora that had been sat on during a flight, brim folded flat against itself for hours. Two steam passes and an overnight flat-weight set had it back to its original curve, no block required.
— Urban
Looking for a fedora that’s easier to keep in shape?
If your current hat has cracked felt, a stretched sweatband, or a crown that won’t hold a reshape no matter how careful you are, sometimes the more sensible move is a fresh hat built to handle regular reshaping without complaint. Some felt fedoras are made from dense wool felt that responds well to steam and holds a cold set, rather than cheaper blends that spring back within days.
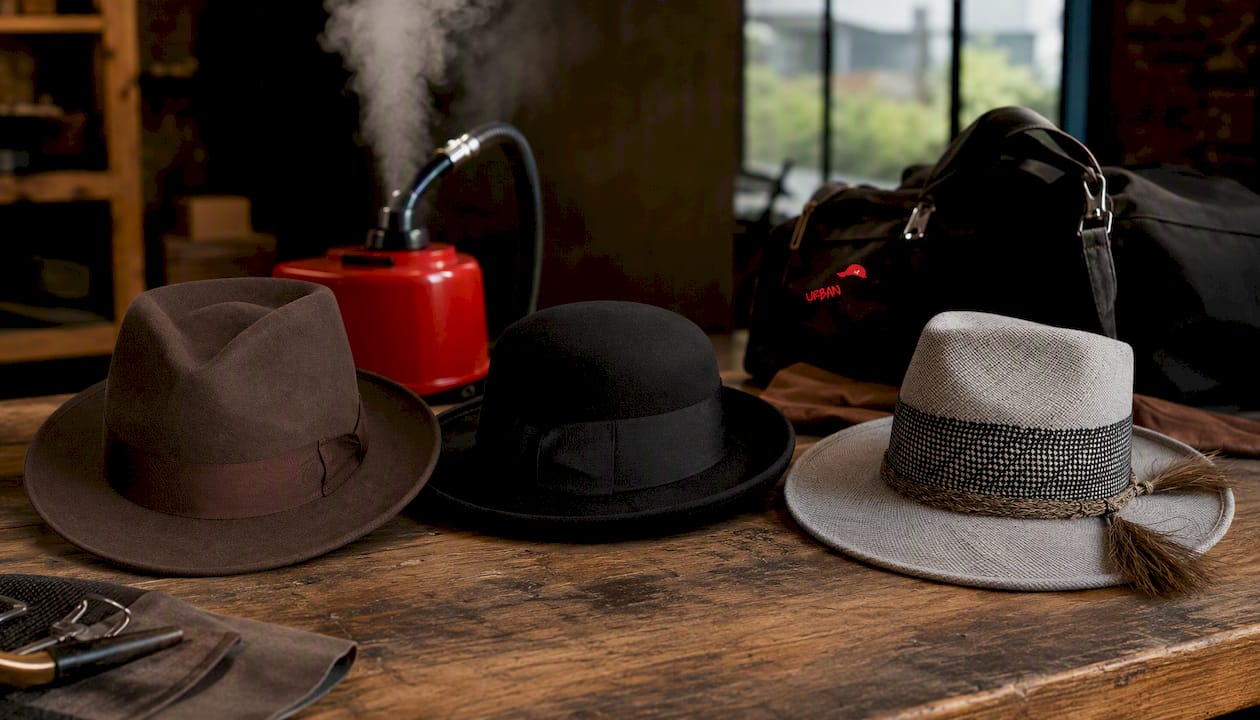
The Wool Fedora Hat with a wide brim and satin lining can be a good choice if you like a dramatic curve, as the satin lining helps the hat slide smoothly against your styling without dragging on the felt. If you’d rather avoid frequent reshaping altogether, the Wool Felt Hat with Turned Brim can hold its factory curve longer than a floppier style, due to a firmer felt weight. For something in between, the Wool Felt Teardrop Fedora Hat with an 8cm brim offers a moderate brim that can be easy to touch up at home.
Browse the full fedora hat range to compare brim widths and felt weights, and get in touch if you’d like reshaping advice before you buy.
Sources
For felt-specific steaming technique, Brixton’s fedora reshaping guide covers distance and passes in more depth. For straw, wikiHow’s squashed hat guide breaks down misting versus dipping. On blocking theory and equipment, the Hoffman Steamers guide and the fedora course tools list are worth a look if you’re considering buying a block. For storage habits, Gentleman’s Gazette has solid practical detail.
- 3 Ways to Fix a Squashed Straw Hat - wikiHow
- Hat Steamer vs Traditional Blocks: 2026 Guide + Costs - Hoffman Steamers
- Hat shaping tips — Gentleman’s Gazette
- How to Reshape a Fedora Hat with Ease
FAQ
How can I reshape the brim of my fedora hat?
Steam the felt from 6 to 8 inches away in short passes, mould it by hand into the curve you want, then let it cold set flat or stuffed with paper towel for at least an hour.
How can I fix a warped hat brim?
For felt, re-steam just the warped section and cold set it under light weight. For straw, lay the brim flat, cover it with cloth, and weight it evenly for several hours until the warp relaxes.
How much does it cost to have a hat reshaped?
Professional reshaping costs vary by shop and the extent of the damage, so it’s worth asking a local milliner or hat repair service for a quote before committing.
What’s the difference between steaming and blocking a fedora?
Steaming softens the material temporarily, while a block holds that softened felt in a fixed shape as it cools, giving a more durable and symmetrical result.
Can I reshape a straw fedora the same way as a felt one?
No. Straw should be misted rather than steamed directly, since heat can scorch or crack certain weaves, whereas felt tolerates direct steam well.